Discover the fundamentals of sheet cake cutting with this guide, covering essential tools, techniques, and serving suggestions for perfect, professional results every time.
Understanding the Basics of Sheet Cake Cutting
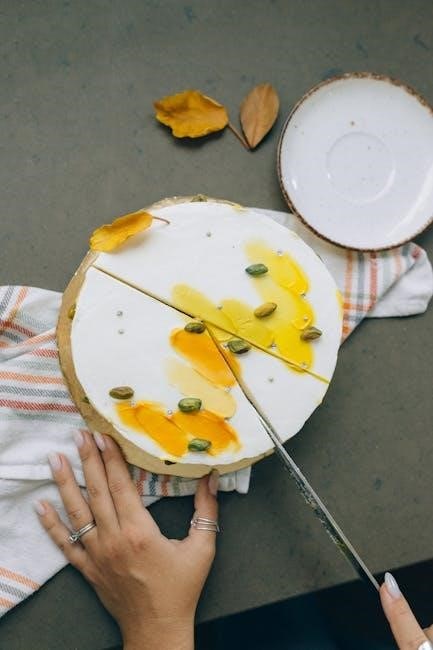
Mastering the basics of sheet cake cutting ensures even portions and a professional finish. Start by determining the cake’s size, as standard sheet cakes typically measure 16×24 inches, with half or quarter sizes available. Use a long serrated knife for clean cuts, and consider scoring the cake first to guide your slices. Wipe the blade with a paper towel between cuts to avoid frosting buildup. For uniform servings, measure slices based on the cake’s height and width. Keeping the knife in warm water can also help achieve smoother cuts. These fundamental techniques are essential for serving perfect portions every time.
Determining the Size of Your Sheet Cake
A standard sheet cake measures 16×24 inches, but sizes can vary, including half or quarter pans. Knowing the cake’s dimensions helps determine the number of servings accurately.
Standard Sheet Cake Sizes and Dimensions
A standard sheet cake typically measures 16×24 inches and 2 inches in height, serving as a base size for calculations. However, sheet cakes can also come in half (8×16 inches) or quarter (8×12 inches) sizes, offering flexibility for different events. These dimensions are crucial for determining the number of servings and ensuring even cuts. Always check the packaging or pan size to confirm the cake’s dimensions, as this will help in planning portions accurately. Understanding these measurements is the first step in achieving perfectly portioned slices every time.
- Full sheet: 16×24 inches
- Half sheet: 8×16 inches
- Quarter sheet: 8×12 inches
How to Measure and Calculate Servings
To calculate servings, start by measuring the cake’s length, width, and height. A standard serving size is 1 inch wide and the height of the cake. For example, a 16x24x2 inch cake yields 24 servings (16 inches divided by 1 inch per serving). If the cake is 4 inches tall, servings double to 48. Use a cake calculator or manual calculations to determine portions based on size and height. This method ensures accurate portioning for any event, whether small or large. Always consider the cake’s height when calculating to avoid underestimating servings.
- Measure length, width, and height in inches.
- Standard serving: 1 inch wide x cake height.
- Example: 16x24x2 = 24 servings; 16x24x4 = 48 servings.
Essential Tools for Cutting a Sheet Cake
A sharp, long serrated knife is essential for clean cuts. It helps slice through the cake evenly without tearing. Keep the knife in warm water for smoother cuts.
Sharp Knife: The Most Important Tool
A sharp, long serrated knife is essential for cutting a sheet cake cleanly and evenly. The serrations help saw through the cake without crushing it, while the length allows for straight cuts across the entire surface. To maintain sharpness, use a knife sharpener or honing steel regularly. For smoother cuts, dip the blade in warm water and wipe it clean with a paper towel between slices. A dull knife can tear the cake, so ensuring it’s sharp is crucial for professional-looking results. Invest in a high-quality knife for consistent, neat slices every time.
Additional Tools: Spatula, Cutting Guides, and More
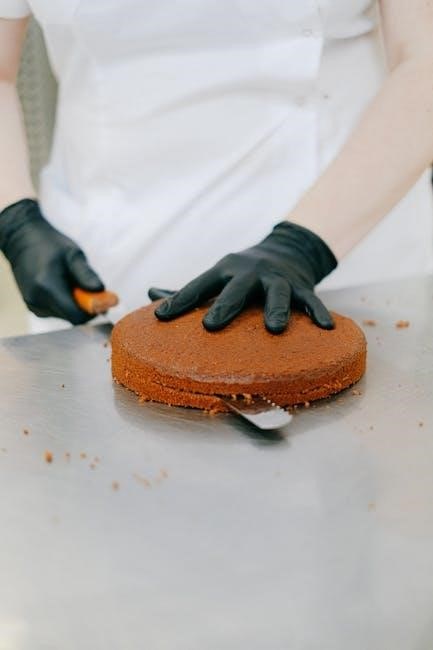
Beyond the knife, a small spatula is handy for serving and smoothing frosting. Cutting guides or templates provide precise measurements, ensuring uniform slices. Optional tools include a cake stand for better access and paper towels for cleaning the knife. Some bakers use a ruler or measuring tape to mark cuts accurately. A cup of warm water nearby helps keep the knife clean and moist, reducing drag. These tools collectively enhance efficiency and accuracy, making the cutting process streamlined and stress-free. Organize them beforehand to ensure a smooth experience when cutting your sheet cake.
Preparation for Cutting
Ensure the cake is on a stable surface and lightly score it with a knife to guide your cuts. Gather tools like a sharp knife, spatula, and paper towels for cleaning. Keep warm water nearby to maintain blade sharpness and prevent frosting buildup. Plan your slicing pattern based on serving size and event needs. Proper preparation ensures clean, even cuts and a professional presentation.
Scoring the Cake for Even Slices
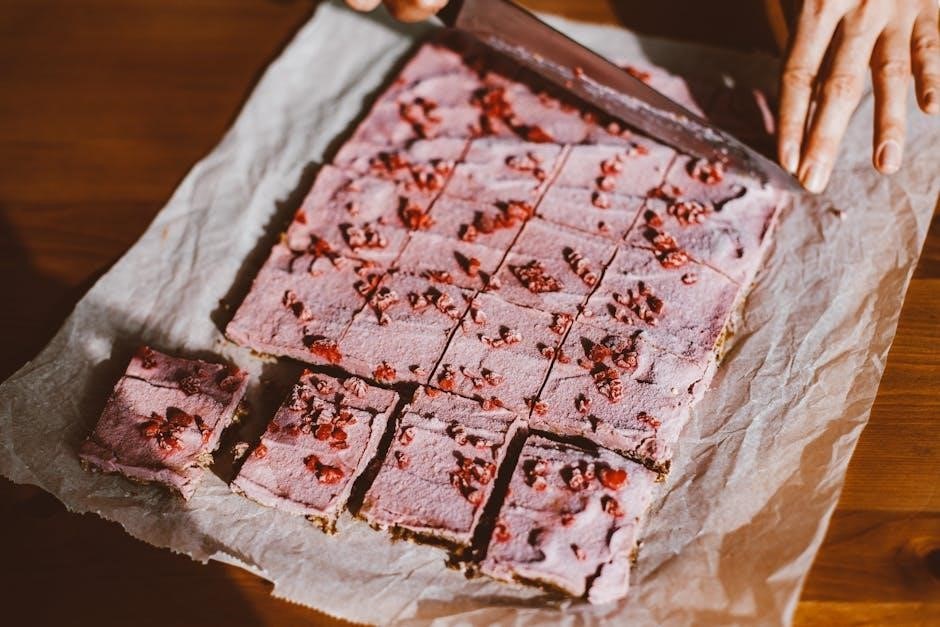
Scoring the cake is a crucial step for achieving even slices. Use a serrated knife to lightly mark the cake’s surface, creating a guide for your cuts. This technique prevents the cake from tearing and ensures uniform portions. Score lines should align with your desired serving sizes, either by width or height. For straight lines, place a ruler or cutting guide alongside the knife. Scoring also helps reduce crumbs and frosting smears, resulting in a neater presentation. This step is especially useful for large events, where consistency in portioning is key. A well-scored cake guarantees professional-looking results every time.
Using Frosting to Guide Your Cuts
Using frosting to guide your cuts is an effective technique for achieving precise, clean slices. Apply a thin layer of frosting along the lines where you plan to cut, creating a visible boundary. This helps prevent the knife from slipping and ensures straight, even cuts. For intricate designs, use piping to outline the cutting lines. Frosting guides are especially helpful for beginners or when cutting through thick, layered cakes. By following the frosting marks, you can maintain consistency in portion sizes and achieve professional-looking results with minimal effort. This method also reduces waste and makes serving easier at events or gatherings.

Techniques for Cutting a Sheet Cake
Master the techniques of cutting a sheet cake with precision. Score lines guide your knife, ensuring even slices. Dipping the blade in warm water enhances smoothness and control.
How to Make Clean, Even Cuts
For clean, even cuts, use a long serrated knife and score the cake first. Lightly mark the cake where you plan to cut, then slice slowly and steadily. Dip the knife in warm water between cuts to maintain smoothness and prevent crumbs from spreading. Wipe the blade with a paper towel to remove excess frosting or debris. This method ensures precise, uniform slices and a professional presentation. By following these steps, you can achieve neat, consistent portions every time, making the cake look as good as it tastes.
Using a Paper Towel to Wipe the Blade
Wiping the blade with a paper towel after each cut is an essential step for maintaining clean, even slices. This prevents crumbs and frosting from building up on the knife, which can create uneven cuts. By keeping the blade clean, you ensure smooth, precise slicing every time. Dip the knife in warm water periodically to loosen any stuck particles, then wipe it dry with a paper towel. This simple technique helps preserve the cake’s appearance and ensures consistent portion sizes for a professional finish.
Keeping the Knife in Warm Water for Smoother Cuts
Keeping the knife in warm water ensures smoother cuts by reducing friction and preventing cake debris from sticking to the blade. Dip the knife in warm water, wipe it clean with a paper towel, and continue cutting. This technique helps maintain clean, even slices without tearing the cake. The warmth of the blade glides through the cake effortlessly, preserving its structure and appearance. Regularly cleaning the knife in warm water enhances precision and consistency, making the cutting process more efficient and professional.
Serving Guide for Sheet Cakes
Learn how to calculate servings based on cake size and portion slices for events, ensuring equal and consistent servings for every guest.
Calculating Servings Based on Cake Size
To determine the number of servings, start by measuring the cake’s length, width, and height. A standard full-size sheet cake (16x24x2 inches) typically yields 48-64 servings, depending on slice size. For smaller pans, such as a quarter-sheet (9x13x2 inches), expect around 24 servings. Use a cake calculator or printable guides to estimate servings accurately. Consider the event type and guest preferences when portioning. For example, a 9×13 pan can be divided into 4 rows and 6 columns for uniform slices. Adjust calculations for taller cakes, as they provide more servings per layer.
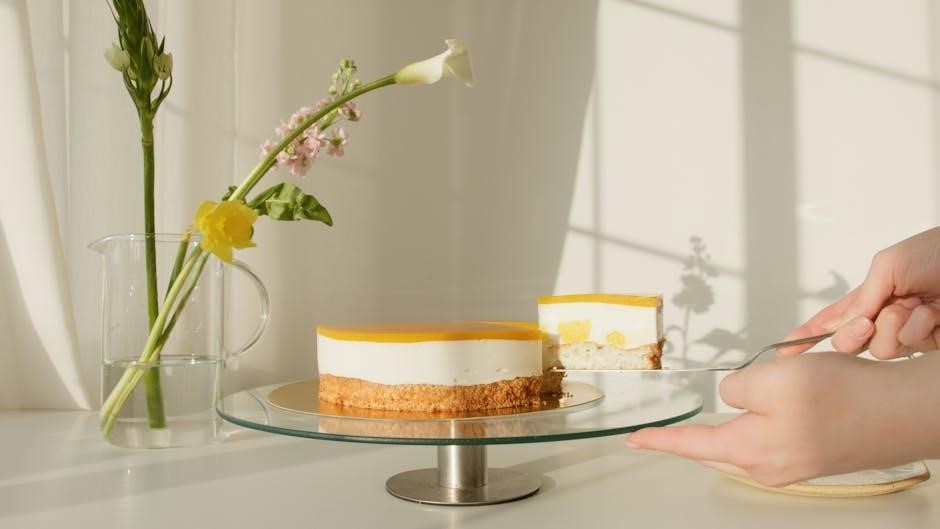
How to Portion the Cake for Different Events
Portioning a sheet cake depends on the event’s size and guest preferences. For weddings or formal gatherings, smaller slices (1×2 inches) are ideal, yielding more servings. Parties or casual events may call for larger slices (2×3 inches) for heartier portions. Use a serrated knife to score the cake lightly before cutting, ensuring even division. For events with varied appetites, offer a mix of slice sizes. Always wipe the knife between cuts to maintain clean edges. Consider keeping the knife in warm water for smoother cuts, especially for large or frosted cakes. This method ensures consistent portions and a professional presentation.
Transporting and Storing the Sheet Cake
Transport sheet cakes in their original pan or on a sturdy, flat surface. Store in a cool, dry place, wrapped tightly to maintain freshness until serving.
Best Practices for Transporting a Sheet Cake
Transporting a sheet cake requires care to ensure it arrives intact. Always keep the cake in its original pan or on a sturdy, flat surface. Use non-slip mats or towels to prevent shifting during transit. Handle the cake gently, avoiding sudden movements or jolts. If traveling long distances, consider using a cake box for added protection. Keep the cake flat and away from direct sunlight or heat sources to prevent frosting from melting. Store the cake in a cool, dry place until serving. These practices help maintain the cake’s structure and appearance, ensuring a clean, professional presentation at your event.
How to Store the Cake Before Serving
Proper storage is crucial to maintain the freshness and structure of your sheet cake. Store the cake in its original pan or transfer it to a sturdy, flat container with a lid. Keep it in a cool, dry place, away from direct sunlight or heat sources. If frosting is involved, refrigerate the cake at a consistent temperature below 40°F (4°C) to prevent melting. Allow the cake to come to room temperature before serving for optimal flavor and texture. For longer storage, wrap the cake tightly in plastic wrap or aluminum foil and refrigerate or freeze, depending on the cake type and frosting.
Frequently Asked Questions
- How can I avoid making a mess while cutting? Use a serrated knife and wipe it with a paper towel between slices.
- Can I pre-cut the cake before the event? Yes, but store it properly to maintain freshness and structure.
- How do I ensure smooth, even cuts? Dip the knife in warm water and wipe clean between each cut.
How to Avoid Mess While Cutting
To minimize mess when cutting a sheet cake, start by lightly scoring the cake with a knife to guide your cuts. Place the cake on a flat, stable surface and use a long serrated knife for even slices. Wipe the blade with a paper towel between cuts to remove excess frosting or crumbs. For cleaner edges, dip the knife in warm water and dry it before each cut. Consider using parchment paper or a clean cutting board to catch any stray crumbs. These techniques ensure smooth, mess-free cutting and professional-looking results.
Can I Pre-Cut the Cake Before the Event?
Pre-cutting a sheet cake before an event can save time but requires careful handling to maintain freshness and presentation. Use a sharp serrated knife to score and cut the cake while it’s in the pan. Once cut, cover the cake tightly with plastic wrap or aluminum foil to prevent drying out. Store it in a cool, dry place until serving. If frosting is involved, pre-cutting is still possible, but ensure the frosting is set to avoid smudging. For best results, pre-cut no more than 24 hours in advance and keep refrigerated if frosted.